In this post we’ll explore some of the things that beginner C programmers (but not general beginner programmers) might find useful in getting quickly up to speed. We will look at which compilers support newer C standards c11 and c14 and the difference between linker and compiler, as well as dynamic vs static library. Finally, we’ll offer a C++ project template you can use in your own projects.
Introduction
First I’ll start with a confession: I started learning C++ somewhat recently, which may be puzzling if you know me well because I’ve been building my career in software engineering for well over twenty five years.
Well, despite having hands-on skils in C, Java, Ruby, Perl, even BASH, — I have somehow skipped c++. But then, as soon as I decided to play with hardware like Arduino it became clear that I wanted to take advantage of the Object Oriented techniques and Design Patterns that I acquired over the years and apply them to my Arduino code!
By that time I was very surprised to find that the vast majority of the existing Arduino projects and libraries were written rather badly, in C. The best ones are written in a mixture of C++ and Assembly. But, it turns out that you can have your cake and eat it too — meaning, you can apply OO principles to Arduino programming.
For the record, you absolutely can build an Arduino library or a sketch using c, as long is does not need to link with any standard C libraries (or, if they do — you have plenty of flash on your chip — thanks Teensy!).
So with this I kick off an official "c++ Newbie Tour" set of blog posts, with which I hope to share some of the important things I’ve been learning as I am going through this process, and in particular figure out something that those of us who’ve been using Rails for too many goddamn years :) are used to having nicely laid out projects, with clearly named folders for where things should go, and a magical dependency loader.
First things first. Have you ever used a proper IDE?
What’s an IDE?
An IDE (Integrated Graphical Environment) — is a software that is effectively a Code Editor, that typically includes many additional features that assist in things like — refactoring, writing and running unit tests, navigating to the function/method/class definition with a single click, looking up documentation for whatever is under the cursor, automatically reformatting the code, debugging step by step, and finally — compiling and packaging the software for release.
This is a lot of stuff! When people tell me they professionally code using a basic text editor, such as Sublime, I get a bit suspicious because it tells me the person is either OK with a lot of tedious manual labor (which IDEs can save you from), or they simply don’t know what’s out there. If this revelation happens during an interview, you can pack up and go home. Am I being judgy? Indubitably. Am I wrong to be judgy while interviewing a candidate? No, because judging is what the job interview is all about.
This is why this section is important. It’s important to get started right.
While I am on a Mac with the latest Mac OS-X and the required for any development Xcode Developer tools, I much prefer to use JetBrains IDEs for programming in almost any language.
I lean on the more light-weight Microsoft’s Visual Studio Code for when I want to peek at a project. But for heavy duty development (read: large codebases) I generally prefer a JetBrains IDE. For example, When coding in Ruby, using RubyMine I can generally out-code and out-refactor almost any VI user out there :) Feel free to challenge me!
Some additional IDEs based on the Operating System:
- Windows
-
If you are on Windows, you #1 IDE is likely to be Microsoft Visual Studio, often referred to as
mscode, not to be confused with the Visual Studio Code mentioned above, which is referred to asvscode. - Mac
-
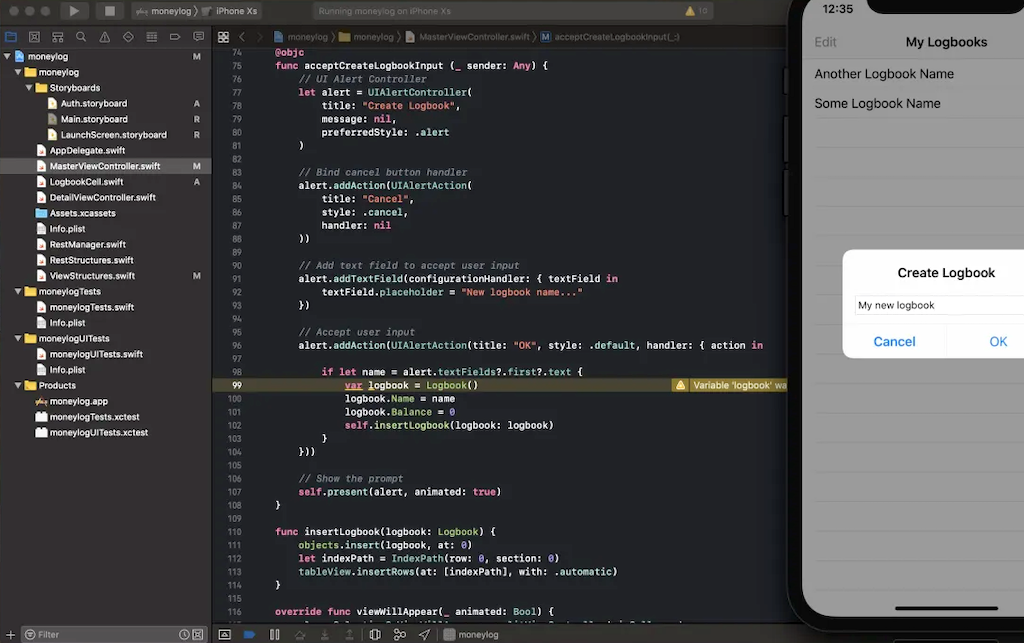
On a Mac, your default IDE is always:
-
XCode, and is a required install before any development may happen.
-
- Cross-Platform
-
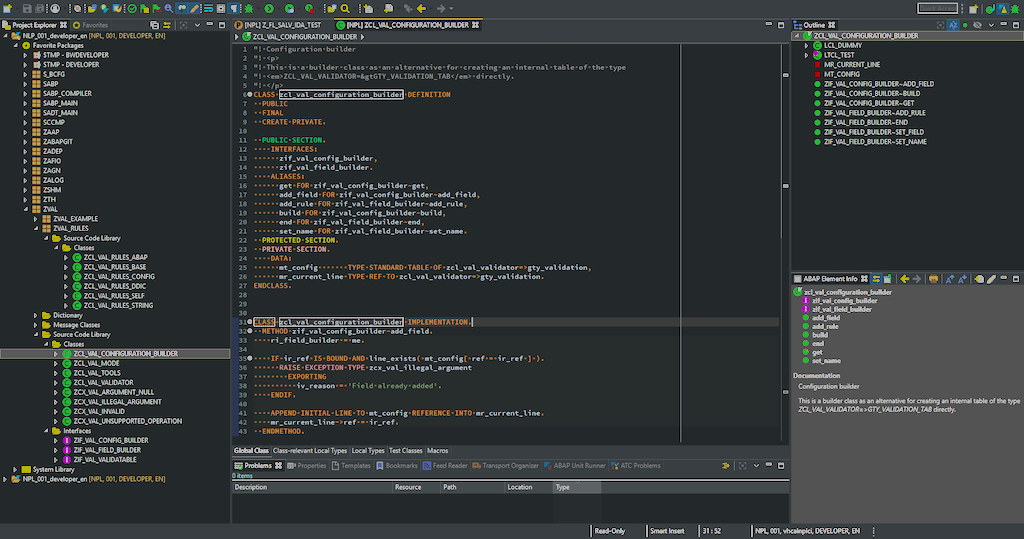
Here you always have:
-
-
JetBrains IDEs such as CLion.
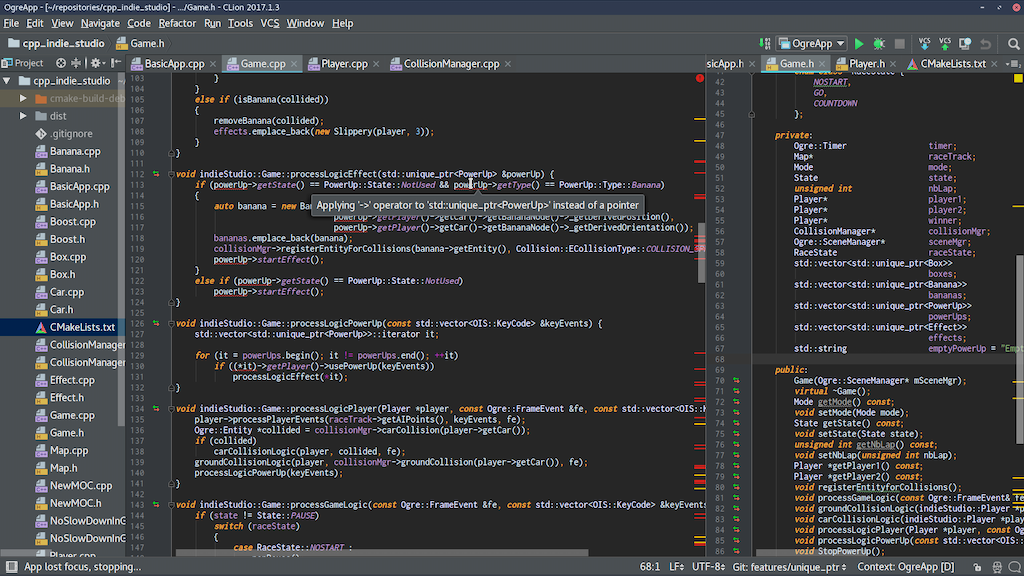
-
Microsoft’s Visual Studio Code (Mac / Windows / Linux)
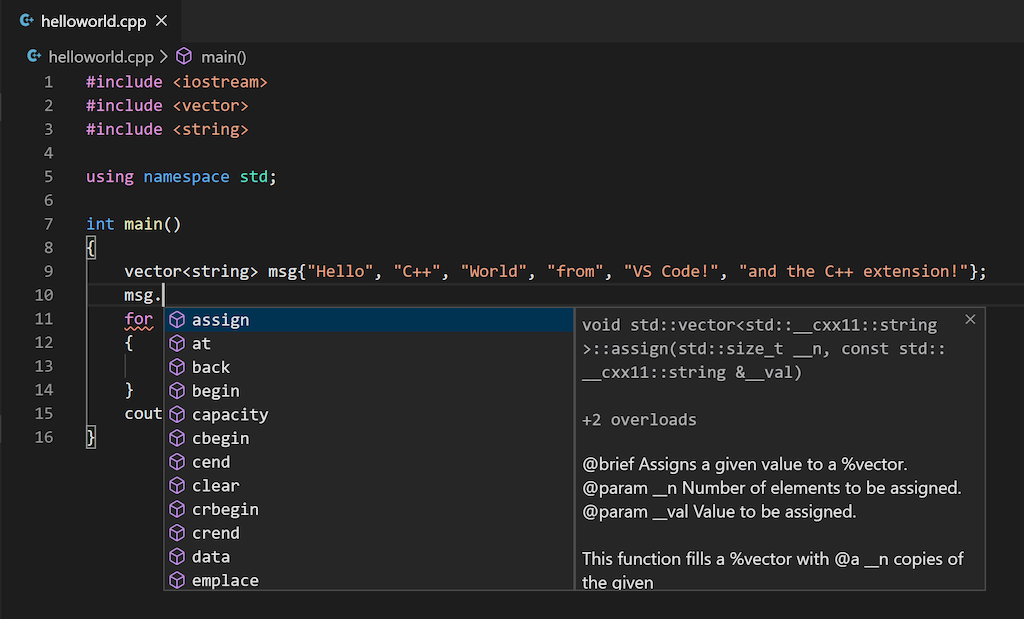
-
Microsoft Visual Studio (Mac / Windows).
-
Vim — terminal or GUI, generally an editor, but a myriad of plugins turn it in a powerful IDE.
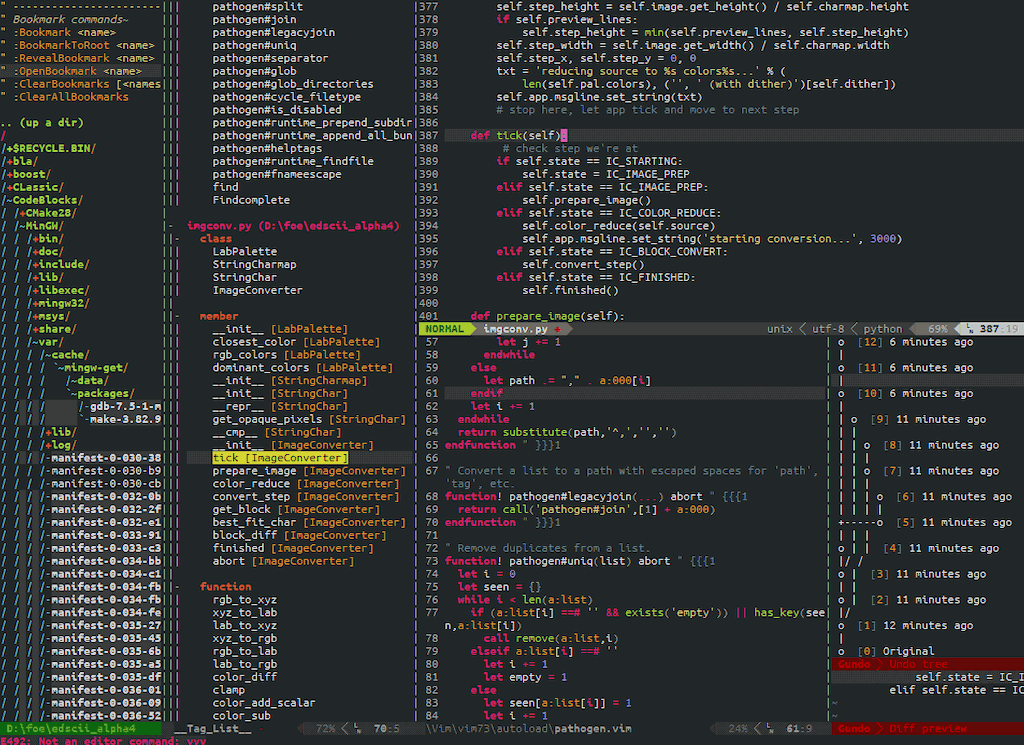
-
Sublime Text — also generally a code editor, not an IDE, but plugins help blur the line.
-
What shall we use here?
The components I will be using in my C++ learning quest are:
-
JetBrains CLion IDE is the IDE I will use for writing C++ code.
-
GoogleTest C++ Unit Test Library is a fantastic library we’ll rely on
-
Because Clion supports only two build systems, we will use one of them — CMake. CMake is meant to be a much simpler Makefile generator, and is clearly gaining traction in the community.
-
We’ll also use
gcccompiler, of which I have two versions installed: one comes from HomeBrew, and one comes built in by Apple. -
At some point in the future, we may take an additional look at Bazel Build System which is a fantastic open source build system from Google.
A Shortcut To Get Started Quickly
|
Before we go too far, I would like to bring your attention on the Github Project I maintain called cmake-project-template — this is a great starting point for any bare-bones C/c++ project that builds:
So if you need a good starting point for your projects, head over there, fork it, rename it, and off you go. |
Exploring C++ Compilers on a Mac
Let’s assume you ran brew install gcc and it worked. It most likely installed gcc into /usr/local/bin because other /usr folders are not writeable since some version of OS-X.
In my BASH init files, while defining the PATH variable, I place /usr/local/bin before the standard system paths such as /usr/bin, bin, etc. Since Apple does not allow /usr/bin to be writeable, that’s the only option when you want to override the older system binary.
Given that my PATH is "/usr/local/bin:/usr/bin:/bin:/usr/local/sbin:/usr/sbin:/sbin" etc, I can install GCC using HomeBrew, and default to it anytime I type gcc:
❯ gcc --version
gcc (Homebrew GCC 6.3.0_1) 6.3.0
Copyright (C) 2016 Free Software Foundation, Inc.
This is free software; see the source for copying conditions.  There is NO
warranty; not even for MERCHANTABILITY or FITNESS FOR A PARTICULAR PURPOSE.
That was the HomeBrew version.
And here is Apple’s:
❯ /usr/bin/gcc --version
Configured with: --prefix=/Applications/Xcode.app/Contents/Developer/usr --with-gxx-include-dir=/usr/include/c++/4.2.1
Apple LLVM version 8.1.0 (clang-802.0.42)
Target: x86_64-apple-darwin16.5.0
Thread model: posix
InstalledDir: /Applications/Xcode.app/Contents/Developer/Toolchains/XcodeDefault.xctoolchain/usr/bin
Now, if you do not have the Brew GCC installed, you should probably rectify this situation as quickly as possible. You see, the built-in compiler, on a 2017 machine with the latest OS-X, still does not appear to fully support c11 and c14 feature set.
How do I know this? Let’s find out.
C vs C11 vs C++14
Many things have changed in C since it was, just c. So it’s kind of important to know what your compiler supports before using a feature that will require rewrite if you are stuck on the older compiler.
Our test file will be called c++ver.cpp, and it’s contents will look like this below. It simply uses a macro __cplusplus to determine the version, and prints it out:
#include <iostream>
int main(){
  #if __cplusplus == 201402L
    std::cout << "C++14" << std::endl;
  #elif __cplusplus==201103L
    std::cout << "C++11" << std::endl;
  #else
    std::cout << "c/c++" << std::endl;
  #endif
  return 0;
}
Now, let’s compile it and run it using both:
# First, let's use the default Apple's compiler installed with Dev Tools:
$ /usr/bin/g++ c++ver.cpp -o default-c++compiler
$ ./default-c++compiler
C++

# Now, let's use gcc-6 compiler installed with Brew.
$ /usr/local/bin/g++-6 c++ver.cpp -o gcc6-c++compiler
$ ./gcc6-c++compiler
C++14
OK, so we know know what each supports. But, what about the size of the binary generated?
$ ls -al *c++*
-rwxr-x---  1 kig  staff  15788 May 12 17:59 default-c++compiler
-rwxr-x---  1 kig  staff   9180 May 12 17:59 gcc6-c++compiler
The newer compiler produced a binary of half the size!
And what if we add -O3 to optimize it?
$ ls -al *c++*
-rwxr-x---  1 kig  staff  10676 May 12 18:13 default-c++compiler
-rwxr-x---  1 kig  staff   9056 May 12 18:13 gcc6-c++compiler
Huh, so the build-in compiler got squashed quite a bit! While gcc6 pretty much stayed at nearly the same tiny byte size.
As a fun experiment, if we replace std::cout with printf, and instead of importing <iostream> — a C++ library, we could import a C library <stdio>?
The code now looks like this:
#include <stdio.h>
int main(){
#if __cplusplus==201402L
  printf("C++14\n");
#elif __cplusplus==201103L
  printf("C++11\n");
#else
  printf("C++\n");
#endif
  return 0;
}
Compiles the same way, and hey - look at that!
-rwxr-x---  1 kig  staff  8432 May 12 18:17 default-c++compiler
-rwxr-x---  1 kig  staff  8432 May 12 18:17 gcc6-c++compiler
The files are now IDENTICAL sized (but they are not actually binary-identical, I checked).
Conclusion
What we learned here is that Apple’s built-in gcc does not seem to support c11 and c14 standards, although it’s possible I would need to pass some flags to it to enable it — not sure.
But if you install gcc with HomeBrew - you can use latest C++ features, and not only that, but your resulting binary will be smaller.
Not to mention, why make project OS-X specific when it can be platform independent right?
Build Targets
So targets are what you actually wanna build with your code. It can be one of three things:
-
an executable binary
-
a static library
-
a shared library
Compiling Things…
The output of the G++ compiler is typically an object file. In C they just had a .o extension, in C they made it something else, I can't remember. The point is that the overall process is quite similar between C and C going from source to object file:
-
C/c++ pre-processor runs
-
compiler parses the file for syntax errors
-
compiler searches for all the headers included in your file
-
and once all symbols have been found, it spits out an object file.
Linking Things…
Next step is the Linker. The Linker comes in, all super-duper cool, and says — "Hey, y’all! You are all a bunch of boring compiled objects, and I am going to assemble you into something interesting, meaningful, otherwise you are just bunch of lonely algorithms at your own goddamn funeral"!
He’s a bit of an emotional wreck, that linker.
The Linker's job is to combine one or more object files produced by the compiler, and link it with each other, as well as various system
libraries. The result of linking is typically either an executable binary, or a library that can be used by other executables and other libraries. For historical reasons, the default binary is called ./a.out unless you specified its name with -o filename flag.
|
In this example we used the function std::cout << "value" to print to STDOUT. That function is pre-compiled for us, and lives in the standard C++ library.
Similarly, printf lives in libc — the standard C library that exists on every UNIX system because literally everything with a tiny
exception of uses functions from standard library. And therefore must be linked with it.
Note that linking can be static or dynamic.
|
Static libraries are literally embedded into the final binary, and so the binary will work whether or not the system has that library
installed. That’s a nice advantage, but the downside is that the binary will be much larger. Dynamic (or shared) libraries are not embedded into the final binary - instead a reference to an external file are embedded . When you run that binary, the shared linkage code embedded into it by the linker will search LD_LIBRARY_PATH for each shared library mentioned, and will fail if one or more are not found. The upside is having a small binary, but the downside is — the binary won’t work unless dynamic library was found when the binary is run.
|
Summary of Compiler / Linker Difference
So, in a nutshell, compiler turns our little C++ classes and declarations into object files with symbol tables, while linker joins them all up, in the right order, to have a single binary where all all the symbols (like method calls) are resolved. When you execute a binary, and you are missing a dependency, you will get an appropriate error.
And once again, I suggest you check out cmake-project-template — it’s great starting point for any bare-bones C/c++ project.
And, if you got here because you want to build Arduino software in c++, I suggest you check out **https://github.com/kigster/arli[Arli] — the Arduino library manager and project generator. To get started with it — run this:
$ gem install arli
$ arli -h
$ arli generate TimeMachine